
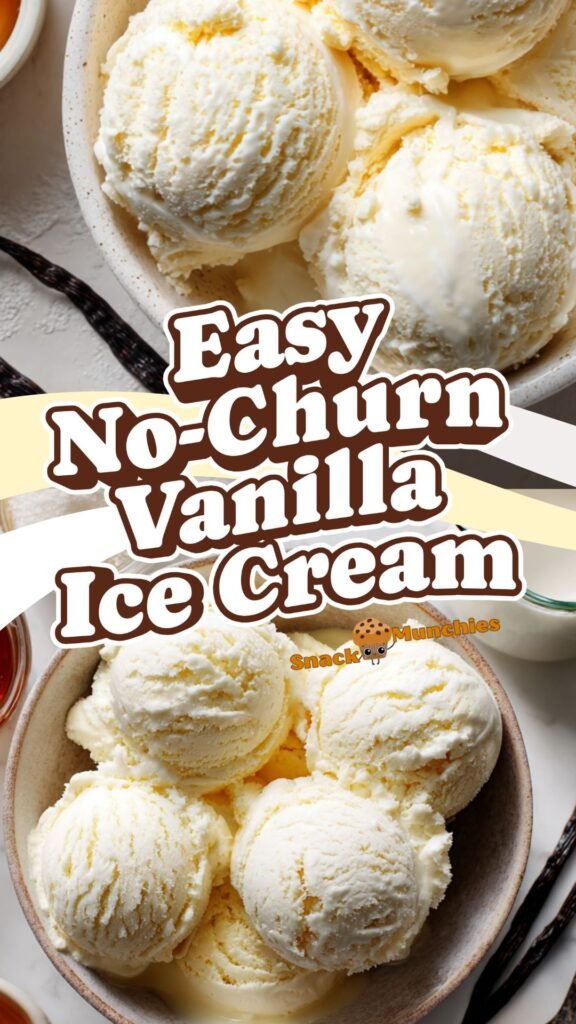
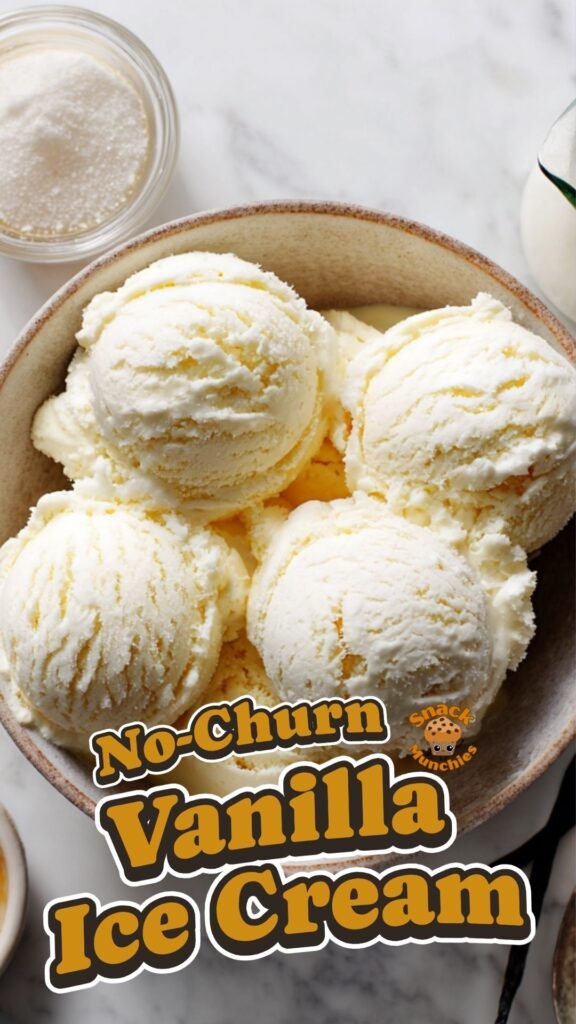
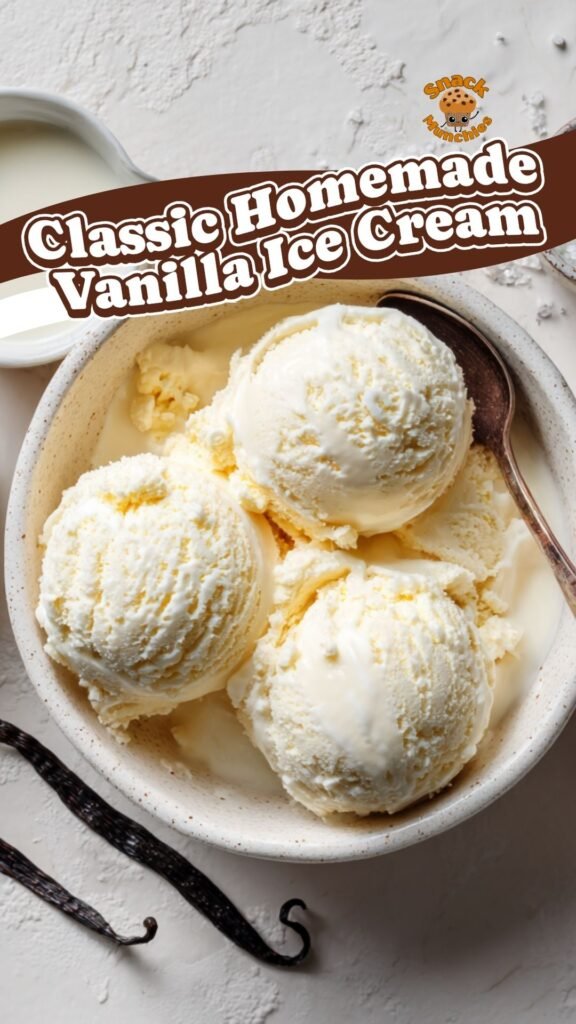
There’s something timeless about vanilla ice cream. It’s simple, comforting, and somehow always exactly what you’re craving. But making it at home can feel intimidating, especially if you don’t have an ice cream machine. That’s where this No-Churn Classic Homemade Vanilla Ice Cream comes in.
This recipe keeps things beautifully simple while still delivering that rich, creamy texture you expect from a great scoop of ice cream. With just a few ingredients and a bit of patience while it freezes, you’ll have a homemade dessert that tastes as if it came from your favorite ice cream shop.
It’s the kind of recipe you’ll come back to again and again. Whether you’re serving it on its own, pairing it with baked treats, or customizing it with your favorite mix-ins, this no-churn vanilla ice cream is a true kitchen staple.
Why You’ll Love This No-Churn Vanilla Ice Cream
1. No machine needed
You don’t need any special equipment to make this. No churning, no complicated steps, just a mixer and a freezer.
2. Ultra creamy texture
The combination of whipped cream and sweetened condensed milk creates a smooth, airy base that freezes beautifully without becoming icy.
3. Only a few ingredients
With just three main ingredients, this recipe is incredibly approachable and easy to memorize.
4. Perfect base for flavors
Vanilla is just the beginning. You can turn this into chocolate chip, cookies-and-cream, or fruit-swirl ice cream with simple additions.
5. Great for any occasion
From weeknight desserts to special celebrations, this ice cream fits right in.
Recipe Ingredients
- 2 cups chilled heavy whipping cream
This is what gives the ice cream its light, fluffy texture. When whipped, it creates air that keeps the ice cream soft and scoopable. - 1 can (14 oz) sweetened condensed milk
This adds sweetness and creaminess all at once. It also helps prevent the ice cream from freezing too hard. - 1 teaspoon pure vanilla extract
The star flavor. A good-quality vanilla extract makes all the difference in taste.
Instructions(Ready To Make It?)
Step 1: Whip the Cream
Start with very cold heavy whipping cream. Pour it into a large mixing bowl and beat it using an electric mixer or a hand whisk.
Whip until you reach firm peaks. This means when you lift the whisk, the cream holds its shape without collapsing. This step is key because it creates the light, airy texture that makes no-churn ice cream so creamy.
Step 2: Prepare the Sweet Base
In a separate bowl, combine the sweetened condensed milk and vanilla extract. Stir until smooth and fully blended.
Take a moment here to smell it. That sweet vanilla aroma is exactly what your finished ice cream will taste like.
Step 3: Fold Everything Together
Now comes the most important step—folding.
Add a portion of the whipped cream into the condensed milk mixture. Using a spatula, gently fold it in. Then add the remaining whipped cream and continue folding slowly.
The goal is to keep as much air in the mixture as possible. Avoid stirring or mixing aggressively, as this can deflate the cream and make your ice cream dense instead of fluffy.
Step 4: Transfer to Container
Pour the mixture into a freezer-safe container. Use a spatula to spread it evenly and smooth the top.
If you want to get creative, this is where you can add mix-ins like chocolate chips, cookie pieces, or fruit swirls.
Step 5: Freeze
Cover the container tightly and place it in the freezer for at least 6 hours. For the best texture, let it freeze overnight.
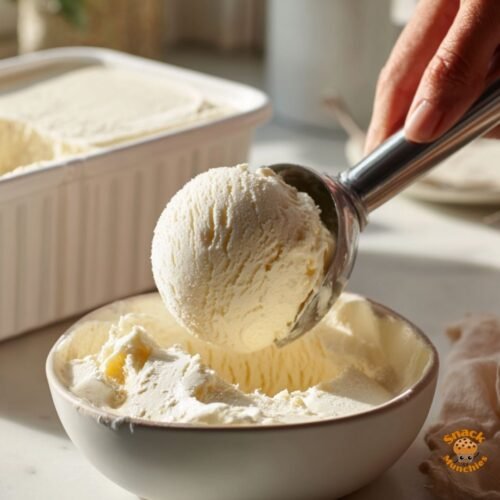
Step 6: Scoop and Serve
Once fully frozen, scoop and serve. The texture should be creamy and easy to scoop, not icy or overly hard.
Cooking Tips & Techniques
- Use very cold cream
Cold cream whips faster and holds its shape better. - Don’t overwhip
Stop as soon as you reach firm peaks. Overwhipped cream can become grainy. - Fold gently
Take your time with this step. Gentle folding keeps the mixture light and airy. - Use a shallow container
A wider container helps the ice cream freeze more evenly. - Add a pinch of salt
Just a tiny pinch enhances the vanilla flavor and balances the sweetness.
Recommended Equipment
- Mixing bowls – One for whipping cream and one for the base mixture.
- Electric mixer or whisk – Makes whipping faster and easier, though a whisk works with a bit more effort.
- Spatula – Essential for gentle folding.
- Freezer-safe container – A loaf pan or an airtight container works perfectly.
How to Serve It
Classic scoops in a bowl
Sometimes, simple is best. Serve it as-is and enjoy the pure vanilla flavor.
With warm desserts
Pair it with brownies, pies, or warm cake for a classic hot-and-cold contrast.
In cones or cups
Great for a fun, nostalgic treat.
Topped with extras
Try chocolate syrup, caramel, fresh fruit, or crushed cookies for added texture and flavor.
Pair With
- Banana Chocolate Chunk Muffins for a sweet, comforting dessert combo
- Coffee and Walnut Pumpkin Bread for a cozy contrast of warm and cold
- Apple Tarte Tatin for a classic pairing of warm caramelized apples and creamy ice cream
Diet-Friendly Options
- Lower sugar option
Use a reduced-sugar sweetened condensed milk if available. - Dairy-free version
Use coconut cream instead of heavy cream and a dairy-free condensed milk alternative. - Flavor variations without added sugar
Add vanilla bean, cocoa powder, or espresso powder for depth without extra sweetness.
Best Ways to Store
- Keep tightly covered
This prevents ice crystals from forming and keeps the texture smooth. - Freeze up to 2 weeks
For the best flavor and texture, enjoy within this time. - Let’s sit before scooping
If frozen solid, let it sit at room temperature for 5 minutes before scooping.
Recipe Variations
- Chocolate chip – Fold in chocolate chips before freezing.
- Cookies and cream – Add crushed sandwich cookies.
- Strawberry swirl – Swirl in strawberry jam or puree.
- Coffee vanilla – Add a teaspoon of instant coffee for a subtle mocha twist.
- Salted caramel – Drizzle caramel sauce and add a pinch of salt.
This Classic Homemade No-Churn Vanilla Ice Cream proves that you don’t need fancy equipment or complicated steps to make something truly delicious. It’s creamy, simple, and endlessly customizable, making it a recipe you’ll reach for whenever the craving hits.
Once you try it, you might find yourself skipping the store-bought version entirely. There’s something special about scooping your own homemade ice cream, knowing exactly what went into it.
Give it a try, add your favorite mix-ins, and enjoy every creamy bite.
5 Common Questions Answered
Why is my ice cream icy instead of creamy?
It’s usually due to overmixing or not folding gently enough. Keeping air in the mixture is key.
Can I make this without a mixer?
Yes, but it takes more effort. A hand whisk works, just be prepared to whisk until firm peaks form.
How long does it take to freeze?
At least 6 hours, but overnight is best for a firmer texture.
Can I add flavors before freezing?
Absolutely. Mix-ins and flavorings can be folded in before freezing.
How do I make it softer to scoop?
Let it sit at room temperature for a few minutes before scooping.
Classic Homemade No-Churn Vanilla Ice Cream
Equipment
- Mixing bowls
- electric mixer or hand whisk
- Spatula
- freezer-safe container
Ingredients
- 2 cups chilled heavy whipping cream
- 1 can (14 oz) sweetened condensed milk
- 1 teaspoon pure vanilla extract
Instructions
- In a large bowl, beat the cold heavy cream using a mixer until it becomes thick and holds firm peaks.
- In a separate bowl, combine the sweetened condensed milk with the vanilla extract, stirring until smooth.
- Carefully incorporate the whipped cream into the condensed milk mixture using a spatula, folding gently to keep the texture light and airy.
- Pour the mixture into a freezer-safe container and spread evenly.
- Cover and place in the freezer for at least 6 hours, or until fully set.
- Scoop and serve once firm.
Notes
- A small pinch of salt can be added to deepen the vanilla flavor.
- For a firmer texture, freeze overnight.
- Store tightly covered to prevent ice crystals from forming.