
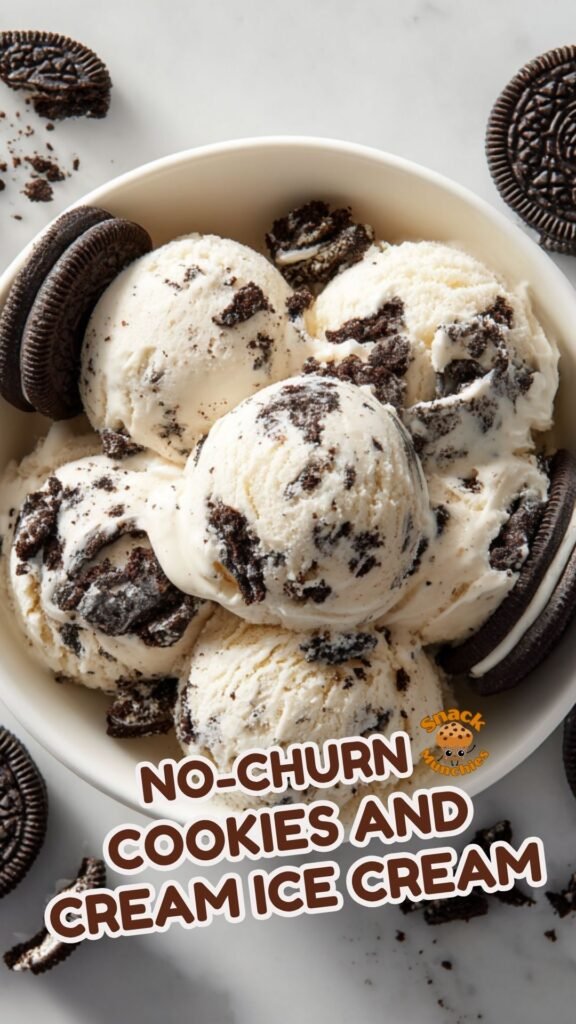
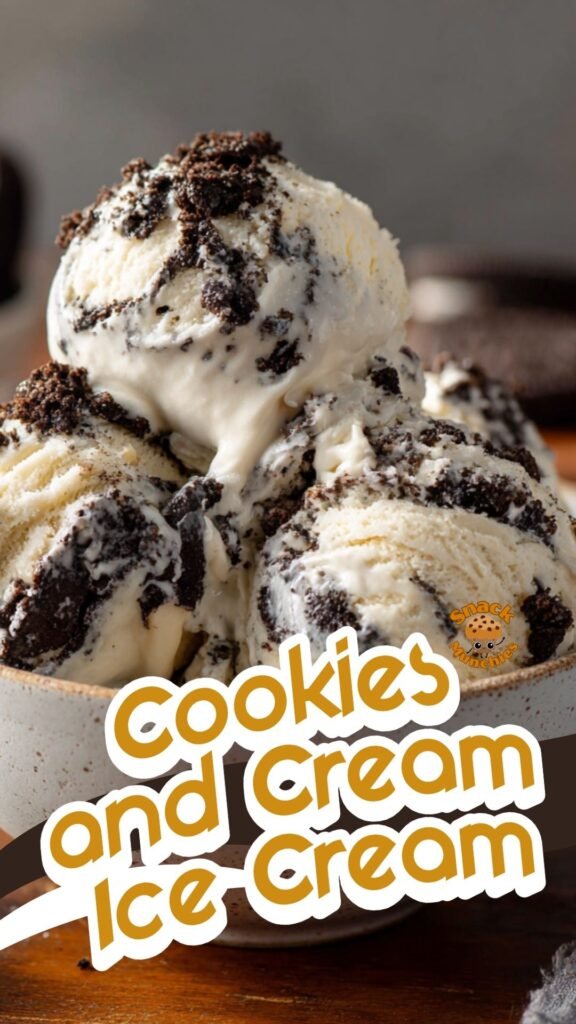
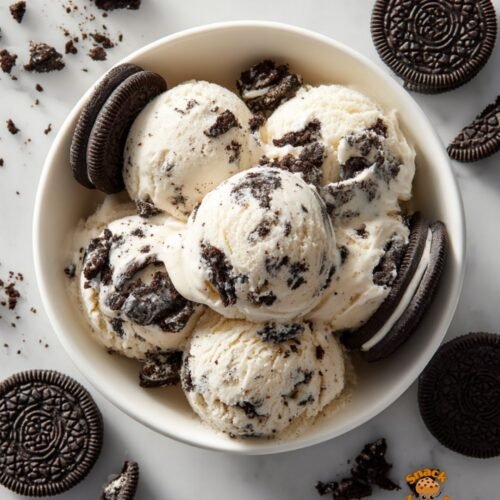
There’s a reason cookies and cream ice cream is a classic. That perfect mix of smooth, creamy vanilla ice cream and crunchy chocolate cookie pieces is hard to beat. It’s nostalgic, comforting, and always a crowd favorite.
This No-Churn Cookies and Cream Ice Cream takes everything you love about that classic flavor and makes it incredibly easy to recreate at home. No ice cream maker, no complicated steps, just a few simple ingredients and a freezer. The result is a rich, creamy dessert with generous chunks of chocolate cookies in every bite.
Whether you’re making dessert for a family night, a weekend treat, or just satisfying a sweet craving, this recipe is one you’ll want to keep on repeat.
Why You’ll Love This Cookies and Cream Ice Cream
1. Classic flavor everyone loves
Cookies and cream is one of those flavors that never goes out of style. It’s familiar, comforting, and always satisfying.
2. No ice cream machine needed
You don’t need any special tools. A bowl, a mixer, and a freezer are all it takes.
3. Creamy and smooth texture
The whipped cream base creates a soft, airy texture that freezes beautifully without becoming icy.
4. Loaded with cookie chunks
Every scoop is packed with pieces of chocolate sandwich cookies, giving you that perfect crunch.
5. Quick and easy to prepare
Just 15 minutes of prep and the freezer does the rest of the work.
Recipe Ingredients (With Friendly Descriptions)
- 2 cups heavy whipping cream, chilled
This is what gives the ice cream its light, fluffy texture when whipped. - 1 can sweetened condensed milk
Adds sweetness and helps keep the ice cream smooth and scoopable. - 1 teaspoon vanilla extract
Enhances the overall flavor and adds a warm, classic base. - 12 chocolate sandwich cookies, roughly crushed
The star mix-in. These add crunch, texture, and that signature cookies and cream flavor.
Instructions
Step 1: Whip the Cream
Pour the cold heavy whipping cream into a large mixing bowl. Using an electric mixer or whisk, beat the cream until it thickens and forms firm peaks.
When you lift the whisk, the cream should hold its shape. This step is essential for creating a creamy, airy texture.
Step 2: Prepare the Sweet Base
In a separate bowl, stir together the sweetened condensed milk and vanilla extract until smooth.
This forms the sweet, creamy base that will hold everything together.
Step 3: Fold the Mixtures Together
Add a portion of the whipped cream into the condensed milk mixture. Gently fold it in to lighten the base.
Then add the remaining whipped cream and continue folding slowly with a spatula. Be gentle to keep the mixture light and fluffy.
Step 4: Add the Cookies
Add the crushed chocolate sandwich cookies to the mixture. Fold lightly until they are evenly distributed.
If you prefer larger chunks, be careful not to overmix.
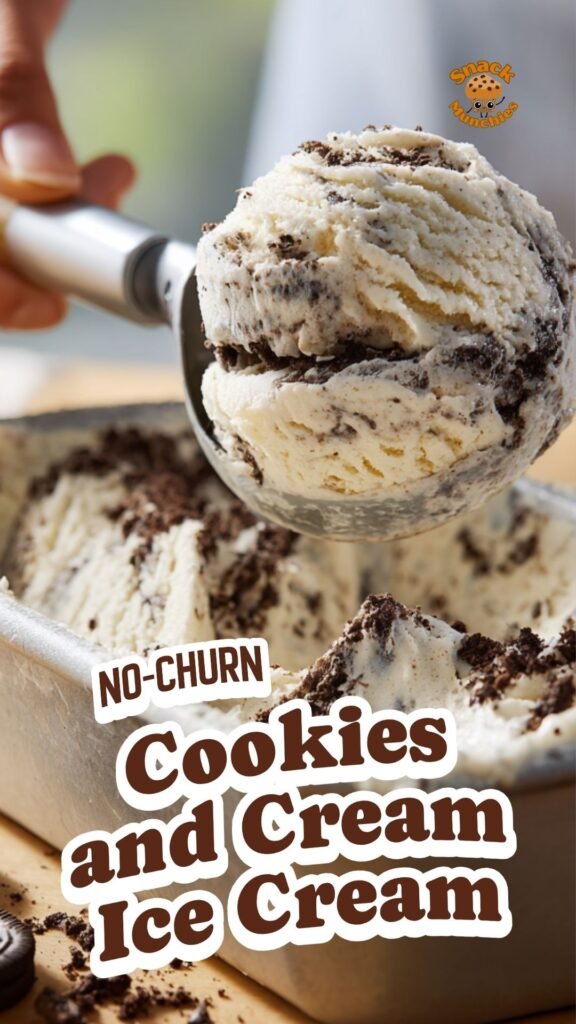
Step 5: Transfer and Freeze
Pour the mixture into a freezer-safe container and smooth the top.
For extra texture, sprinkle a few more cookie pieces on top before freezing.
Cover tightly and freeze for at least 6 hours, or until firm.
Step 6: Scoop and Serve
Before serving, let the ice cream sit at room temperature for a few minutes to soften slightly. Scoop and enjoy.
Tips & Techniques
- Don’t crush cookies too fine
Keeping some larger chunks gives better texture and more satisfying bites. - Use cold cream
Cold cream whips faster and holds its structure better. - Fold gently
This keeps the mixture airy and prevents dense ice cream. - Use a shallow container
Helps the ice cream freeze evenly and makes scooping easier. - Reserve some cookies for topping
Adding extra on top creates a more appealing finish.
Recommended Equipment
- Mixing bowls – One for whipping cream and one for the base mixture.
- Electric mixer or whisk – Helps achieve firm peaks quickly.
- Spatula – Ideal for folding ingredients gently.
- Freezer-safe container – A loaf pan or airtight container works well.
How to Serve It
Classic scoops in a bowl
Let the cookies and cream flavor shine on its own.
In cones
Perfect for a fun and nostalgic treat.
With extra toppings
Add whipped cream, chocolate drizzle, or more cookie crumbs.
As a dessert base
Serve with brownies or cake for an extra indulgent treat.
Pair With
- Chocolate Fudge No-Churn Ice Cream for a double chocolate dessert combo
- Banana Chocolate Chunk Muffins for a sweet and rich pairing
- Classic No-Churn Vanilla Ice Cream for a simple flavor contrast
Diet-Friendly Options
- Dairy-free version
Use coconut cream and a dairy-free condensed milk alternative. - Gluten-free option
Use gluten-free chocolate sandwich cookies. - Lower sugar option
Choose reduced-sugar cookies and condensed milk if available.
Best Ways to Store
- Keep tightly covered
Prevents ice crystals and keeps the texture smooth. - Freeze up to 2 weeks
Best enjoyed within this time for optimal flavor. - Soften before scooping
Let sit at room temperature for 3 to 5 minutes before serving.
Recipe Variations
- Cookies and cream fudge swirl – Add chocolate fudge for extra richness.
- Mint cookies and cream – Add a drop of peppermint extract for a refreshing twist.
- Peanut butter cookies version – Swirl in peanut butter for added flavor.
- Caramel cookies and cream – Add caramel drizzle before freezing.
- Extra crunchy version – Add chopped nuts for texture.

This No-Churn Cookies and Cream Ice Cream is proof that homemade desserts don’t have to be complicated to be delicious. It’s creamy, crunchy, and packed with that classic flavor everyone loves.
With just a few ingredients and simple steps, you can create a frozen treat that feels just as satisfying as anything store-bought—maybe even better. Once you make it, you’ll see how easy it is to bring this favorite flavor right into your own kitchen.
Common Questions Answered
Can I use store-brand cookies instead of Oreos?
Yes, any chocolate sandwich cookies will work just fine.
Why is my ice cream too hard?
Let it sit at room temperature for a few minutes before scooping.
Can I make this without a mixer?
Yes, but whipping the cream by hand will take more time and effort.
How do I avoid an icy texture?
Fold gently and keep the mixture well covered during freezing.
Can I add more cookies?
Absolutely. Just be careful not to overload the mixture so it stays creamy.
Cookies and Cream No-Churn Ice Cream
Equipment
- Mixing bowls
- electric mixer or whisk
- Spatula
- freezer-safe container
Ingredients
- 2 cups heavy whipping cream, chilled
- 1 can sweetened condensed milk
- 1 teaspoon vanilla extract
- 12 chocolate sandwich cookies, roughly crushed
Instructions
- In a large bowl, whip the cold heavy cream until it thickens and forms firm peaks.
- In a separate bowl, stir together the sweetened condensed milk and vanilla extract until smooth.
- Gently incorporate the whipped cream into the milk mixture, folding carefully to maintain a light and airy texture.
- Add the crushed cookies and fold lightly until evenly distributed throughout the mixture.
- Transfer the mixture into a freezer-safe container and smooth the surface.
- Cover and freeze for at least 6 hours, or until firm enough to scoop.
- Let it sit for a few minutes at room temperature before serving for easier scooping.
Notes
- Avoid crushing the cookies too finely if you prefer larger chunks in every bite.
- For extra flavor, reserve some cookie pieces to sprinkle on top before freezing.
- Store in an airtight container to keep the texture creamy and prevent ice crystals.